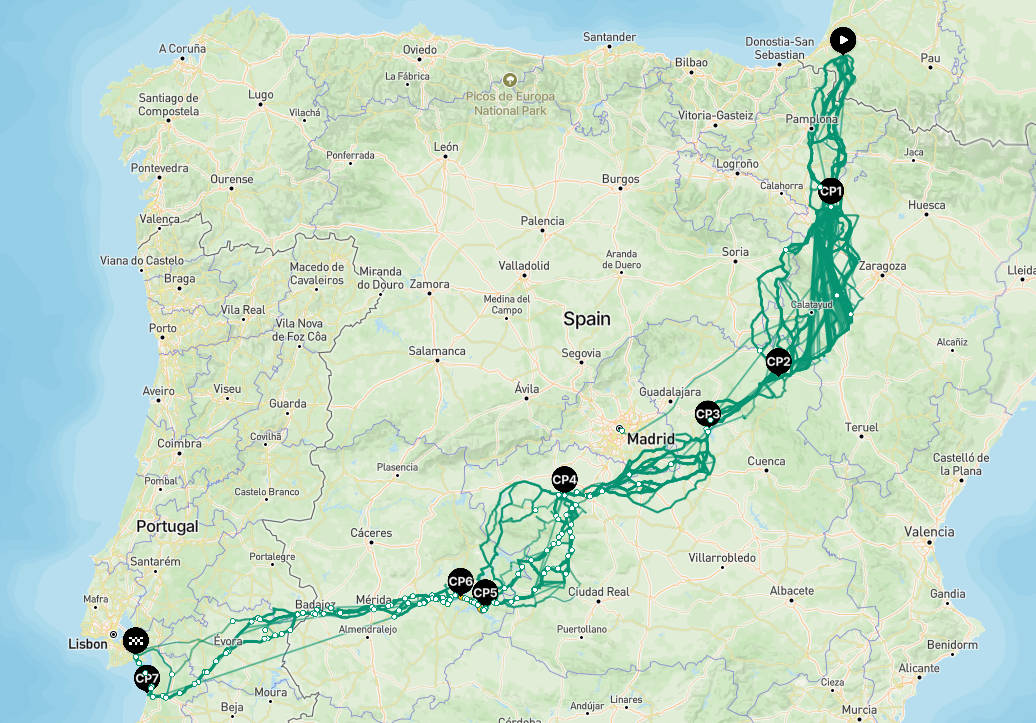
One destination and hundreds of possible routes.
Here is a non-exhaustive list of tools to discover, explore, and test the different routes.
Main quest: avoid getting lost.
*If you are already accustomed to mapping out your ultra routes, you can probably skip the first part.
I / Best practices
Why spend time on the route?
In ultra races with a free route, you can arrive at the start with a route planned in 10 minutes, BUT you could be in for some unpleasant surprises and miss out on interesting shortcuts.
*The tools mentioned work better on a computer than on a mobile device, and it is more comfortable to use them on a PC anyway.
What not to do: the Disasterus Bikus
Let’s take an example of a mishap during Desertus 2024.
Justinas Leveika was one of the favorites. But at the finish line, he was 12 hours behind the winner. He fell behind by taking a chaotic route on his Trek Madone.
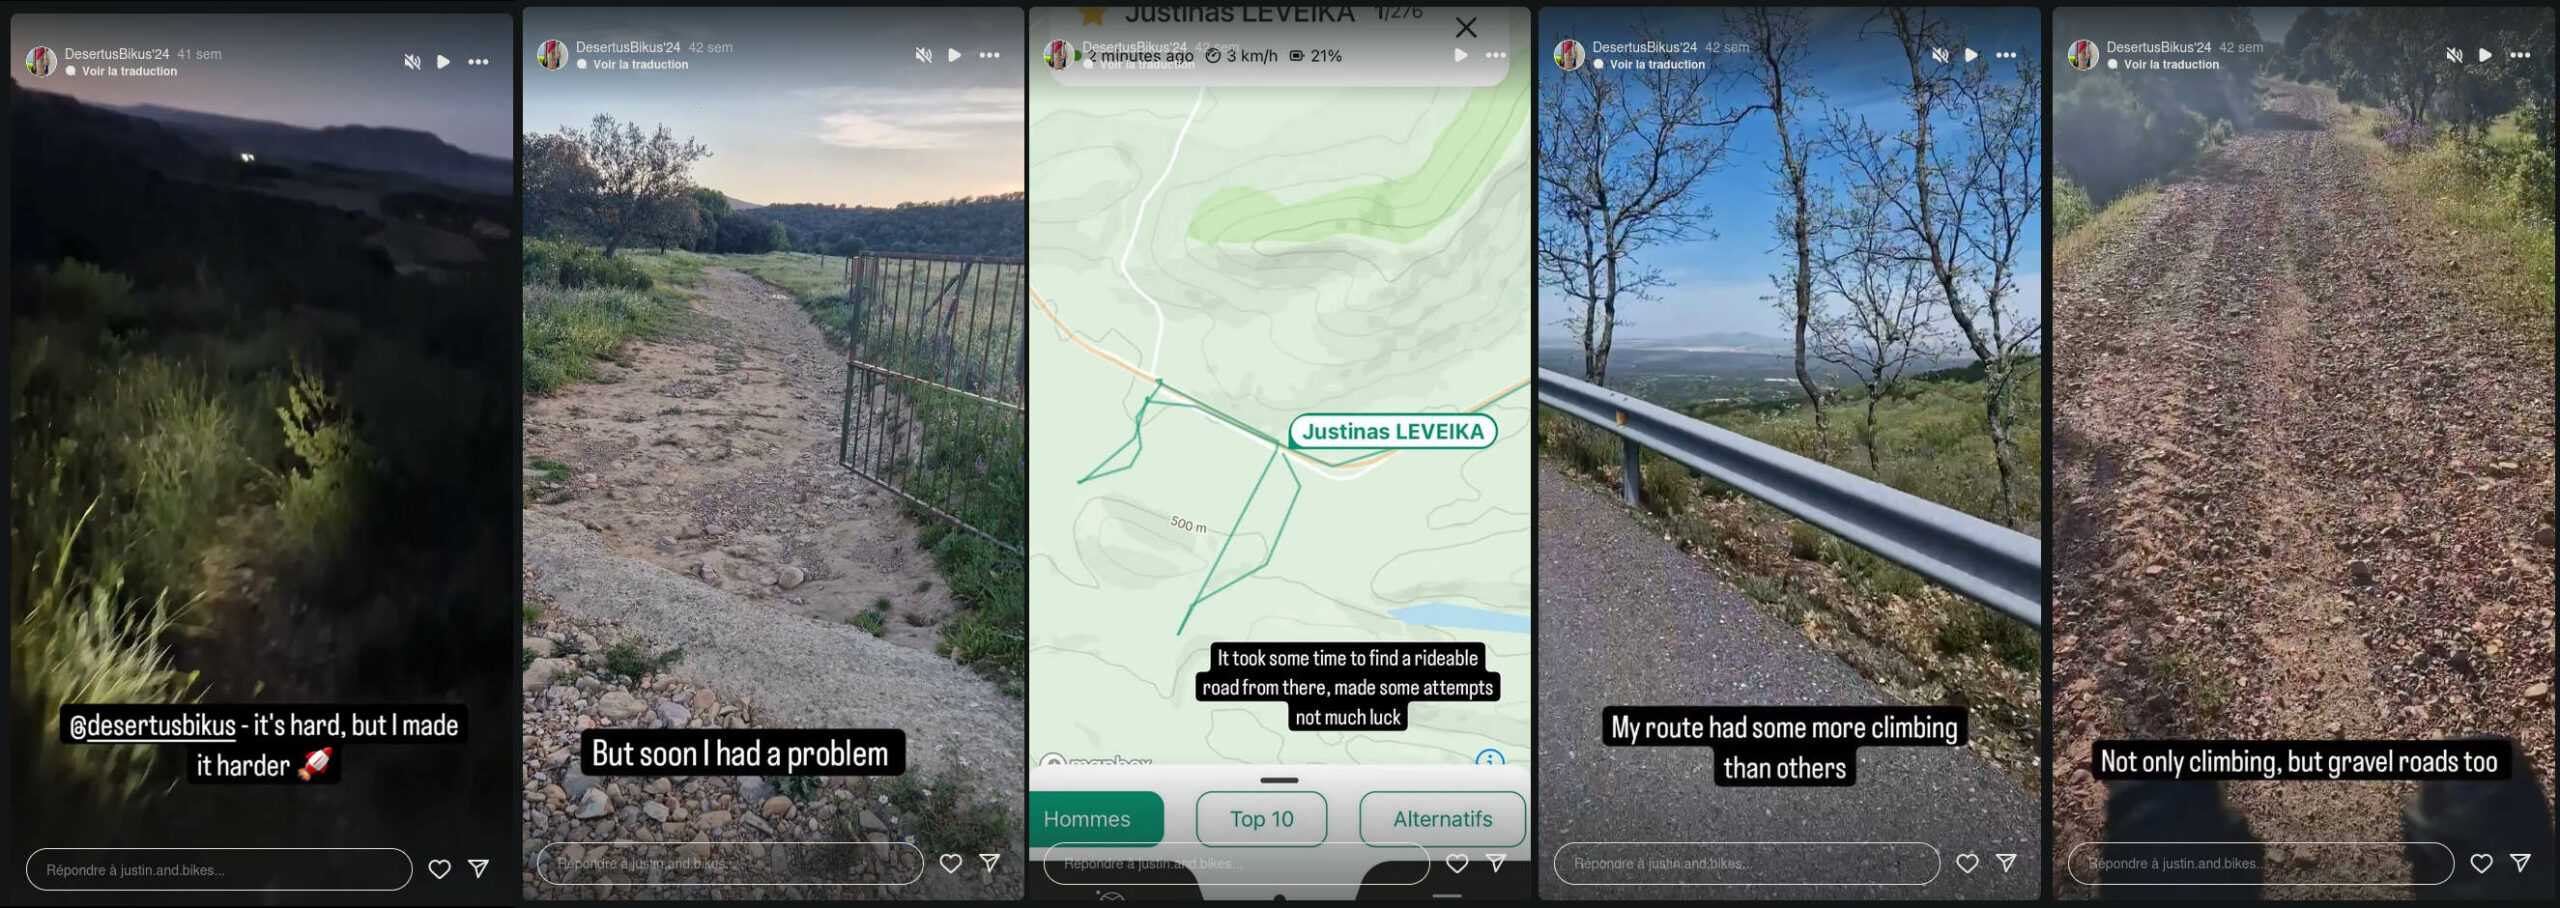
Justinas’ route reduced the amount of kilometers without taking sufficient account of the terrain and surfaces traveled.
Even for one of the world’s best bikepackers, a bad road can ruin a trip. The king of chaos concludes: “do your homework.”

Splitting
Some bike GPS devices may have difficulty handling tracks that are too long (over 500 km).
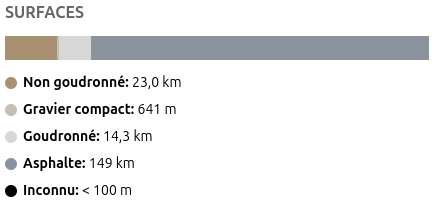
Distance / elevation gain / surface
Whether you want to race or simply finish within the time limit, you’ll want to cover as few kilometers as possible because there’s already enough to do.
Look for a route that’s as flat as possible. The flatter it is, the higher your average speed will be, especially with a bike loaded with clothes, water, and food.
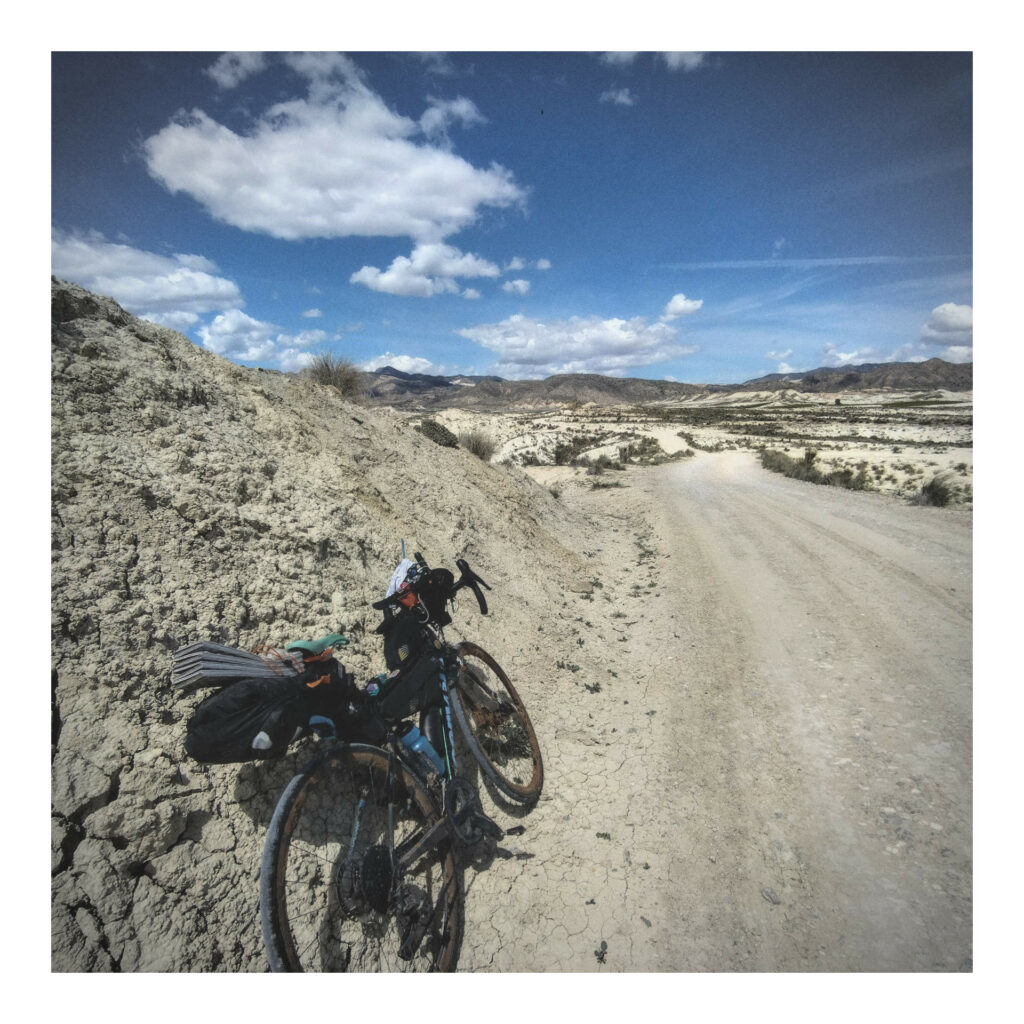
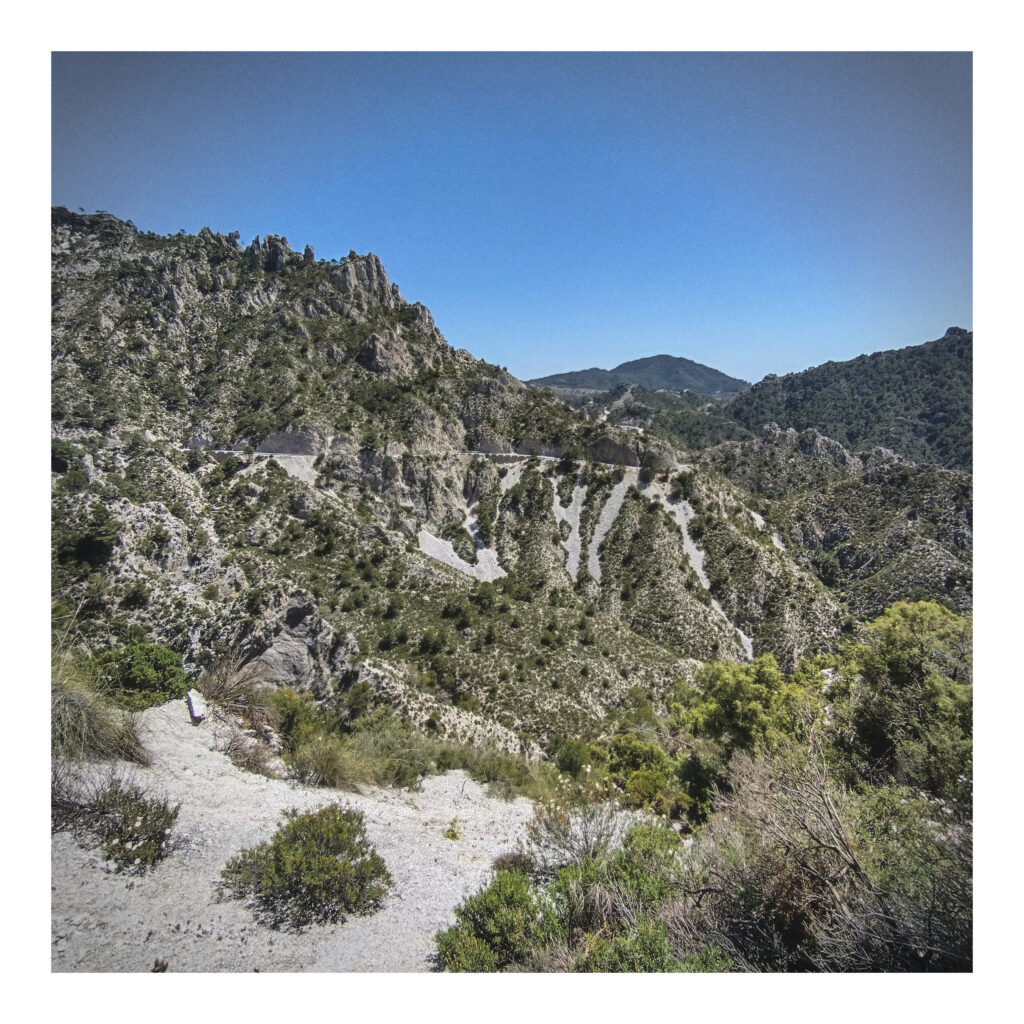
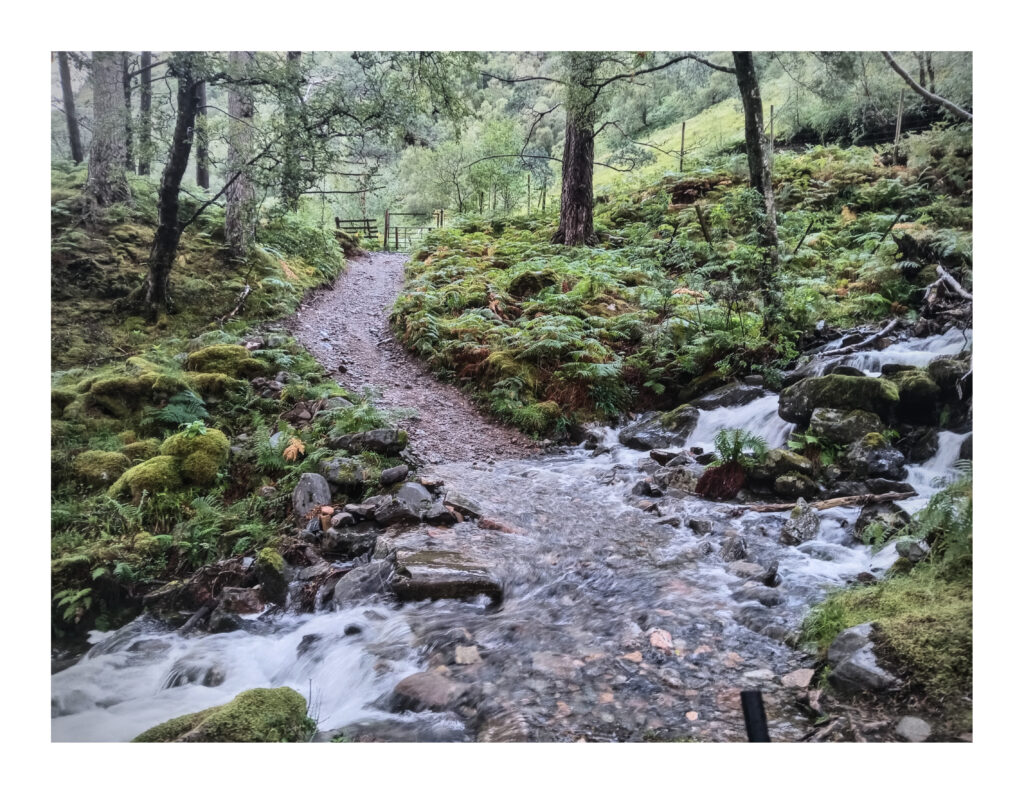
The third parameter to adjust will be the volume of unpaved kilometers. You can always go faster on a flat surface than on a rocky trail. You may even lose several hours on an impassable section. Each unpaved section will need to be analyzed to assess whether it is viable.

II / Overview
Route planners
I usually generate several routes by tinkering with different planners and settings, then compare them.
I test different tools, moving points around to find shortcuts while monitoring the elevation gain.
When I find an interesting result, I export the track as a .gpx file.
/!\ Be careful with the figures when switching from one route planner to another, as each one estimates elevation gain differently.
– Komoot :
Komoot is popular and effective, even though it has a reputation for sending us off course.
To avoid this as much as possible, I only use the “Road Cycling” mode.
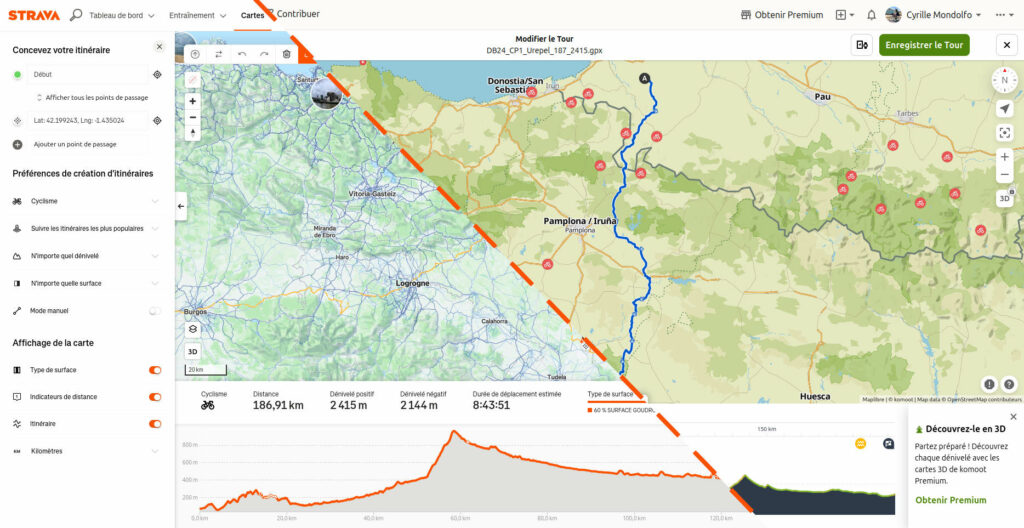
– Strava :
The Strava planner is one of the paid features, but there is a free trial available.
A major advantage is having the heatmap in the background (more info in part three).
In mountainous regions, it is useful to switch between 2D and 3D views.
The premium version of Komoot has the same functionality.
By default, Strava prioritizes the routes most traveled by cyclists over mileage.
Other settings can give interesting results, but sometimes with pitfalls /!\ .
– RideWithGPS
RWGPS offers a good balance between speed and safety.
I used it with excellent results on French Route 66 to bypass the Paris region.
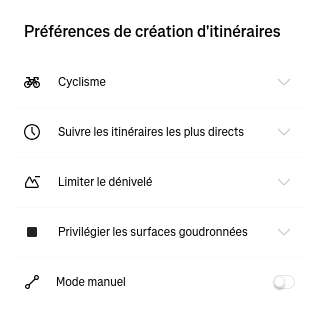
– BRouter
BRouter helped me during French Road 66 to try to escape the wind by riding through forests as much as possible with its “consider_forest” setting.
It is much more configurable than the others, and the profile can be fully customized.
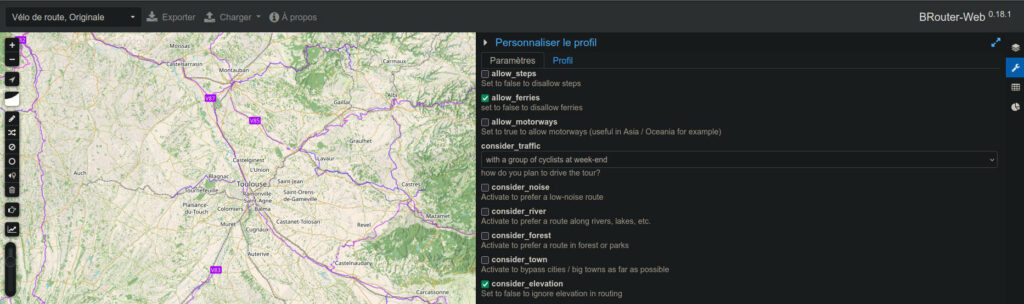
I usually use the “Road bike” profile with the setting “consider traffic: with a group of cyclists at weekends.”
View options
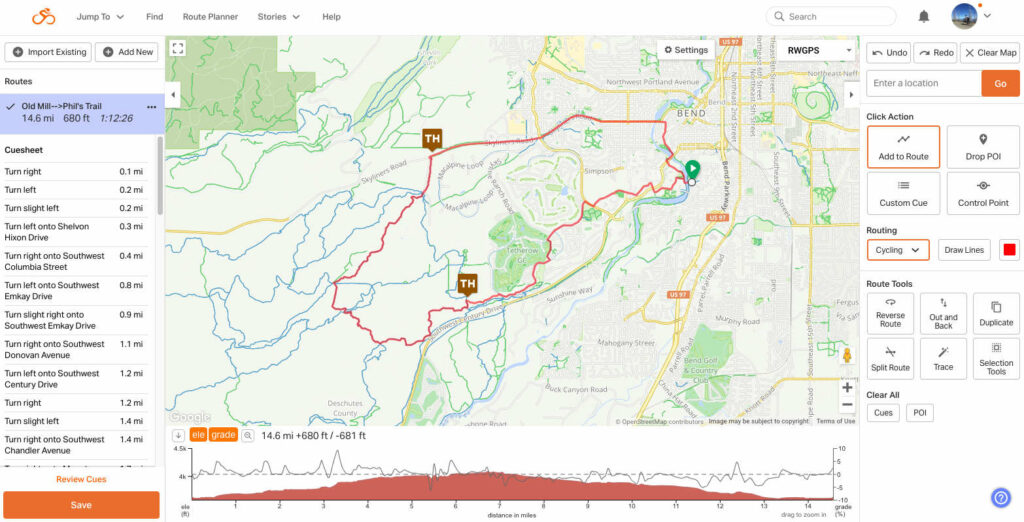
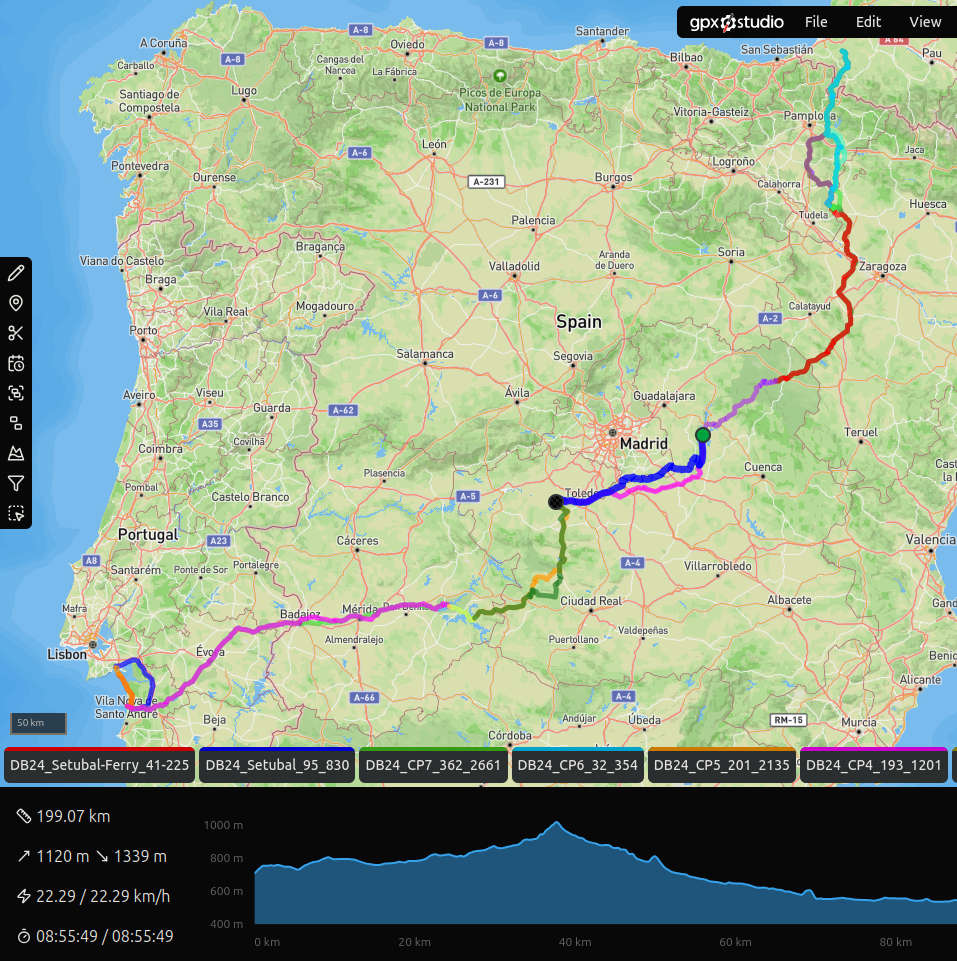
– GPX.studio
This tool comes into play once I have several files; it allows me to view the different options on the table. Routes start to take shape, and we begin to see where we’re going.
I load the different tracks into GPX.studio to get an overview. From there, I can make an initial choice for the basic route.
It also works for comparing your tracks with those of your friends!
Alternative routes
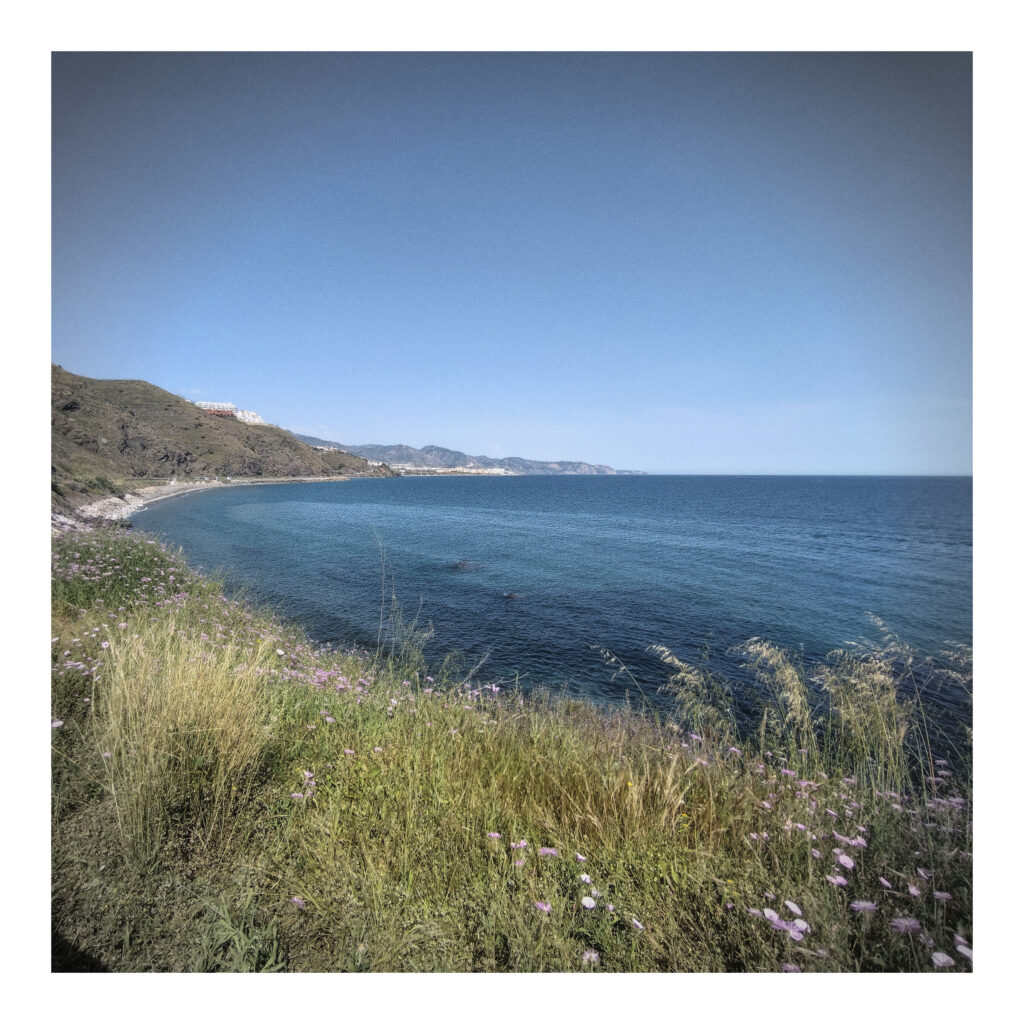
In ultra cycling, the weather is an unknown factor when planning your trip.
I sometimes keep several alternatives between two checkpoints, in case the trails are muddy.
III / Explore and refine the track

Once you have a draft, it is crucial to check routes in more detail.
I would recommend using the route planner you are most comfortable with for the next steps.
The next steps will require juggling between different tools.
– Climbfinder
To identify the profile of major climbs.
By uploading GPX files, you can retrieve a list of climbs, with the longest ones referenced with a detailed profile.
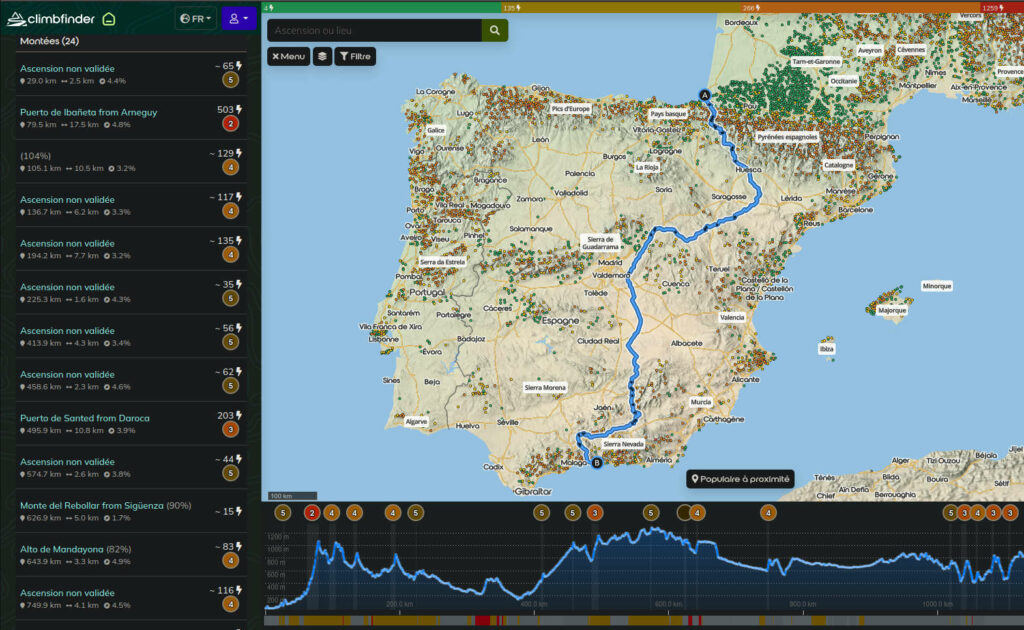
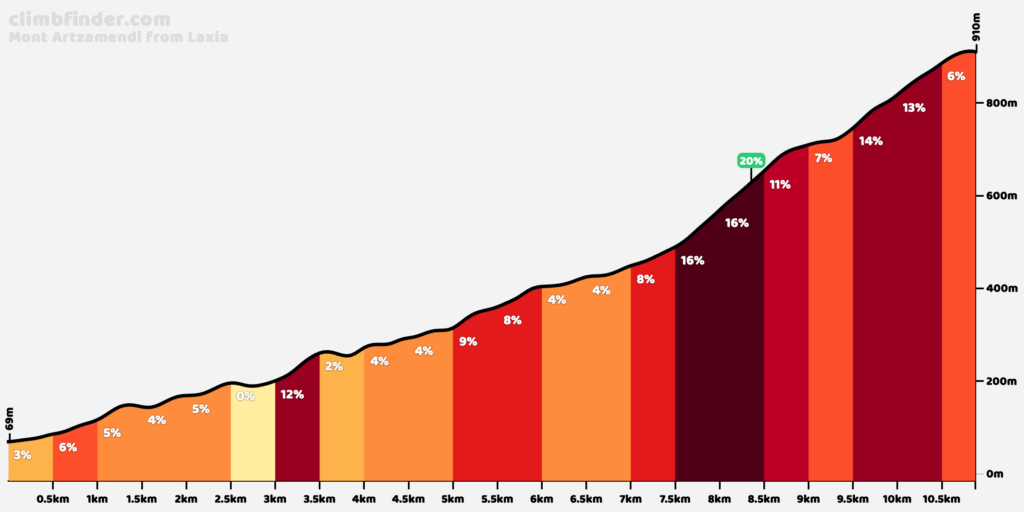
If the route takes us across the Pyrenees into the Basque Country 🌶️, it’s a good idea to take a look at the profile of the passes we’ll be crossing.
– Komoot alerts
In “road bike” mode, Komoot displays alerts when the surface is considered unsuitable.
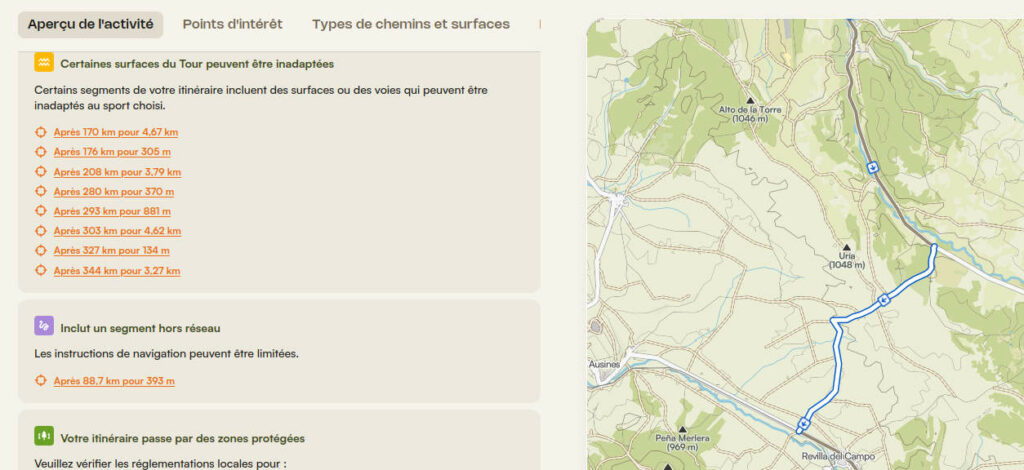
It is wise to first check those sections that we may have missed. Sometimes it is a shortcut, sometimes a path to avoid.
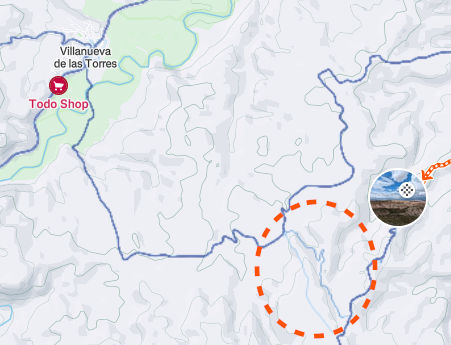
– Google Street View in Komoot / RWGPS
A large part of Spain’s roads are available in Street View.
The integration of Google Maps into Komoot and RideWithGPS is very useful for us. We can check the quality of the roads.
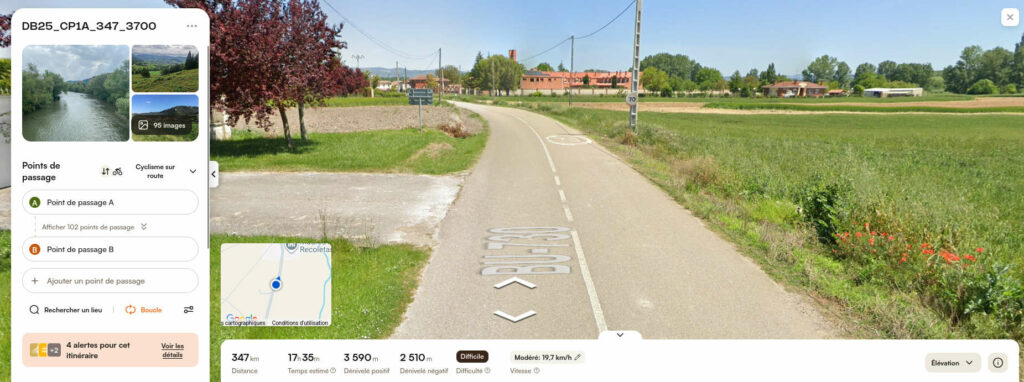
In Komoot: import the GPX file, then in route editing mode, when you click on a road, the little Google Maps icon becomes clickable if the road is available.
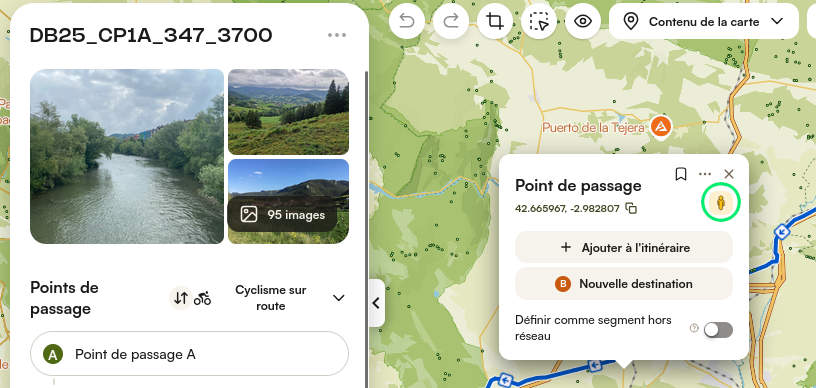
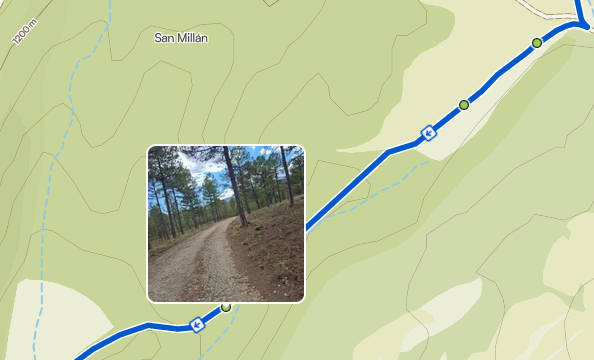
– Komoot Trail View
In addition to Google Street View, Komoot offers photos of trails provided by its users via the “Trail View” feature.
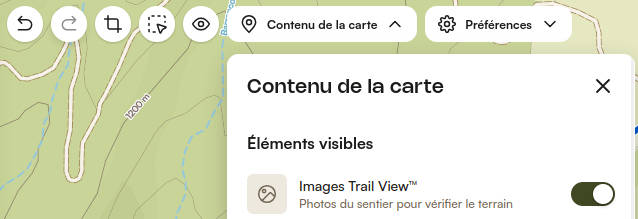
The images are marked by green dots on the map.
– La heatmap de Strava
The global activity map or “global heatmap” is very useful for mapping unknown areas.
While Strava’s route planner is a paid service, the global heatmap can be viewed for free. It shows the sum of cycling activities recorded on Strava.
The thicker the line, the more popular the route.
We will be able to extrapolate information about potential obstacles.
When we see a line that stops abruptly, it may indicate that there is:
- a section where the GPS signal does not pass: a fog of lines appears; here it is a tunnel on the road from the Soulor Pass to the Aubisque Pass
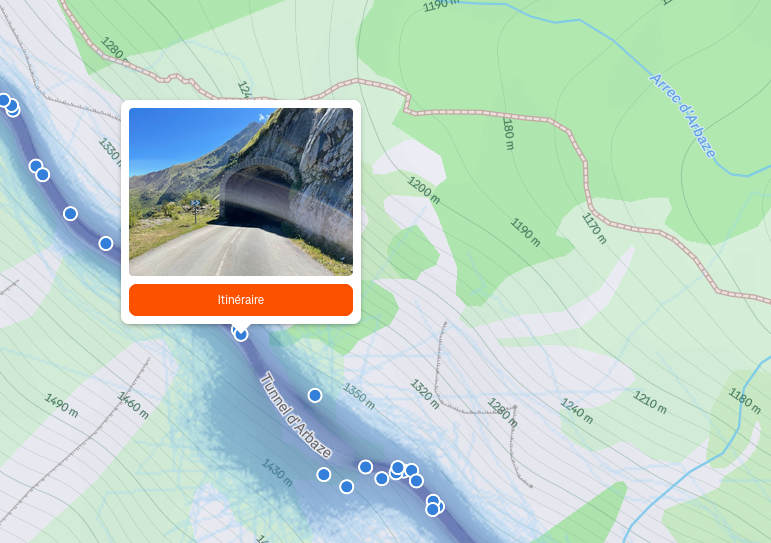
- an insurmountable obstacle: the trail ends abruptly here at a fenced property.
- a passage impossible to cross by bike: the trail stops and then resumes a little further on, here an extremely steep slope

The planner’s algorithm already makes extensive use of heatmap data, but you can use the heatmap visually to find shortcuts.
Be careful not to misinterpret the data: once, I mapped a winding, heavily trafficked trail while trying to ride on gravel, and ended up pushing my bike on a red downhill mountain bike trail ^^’.
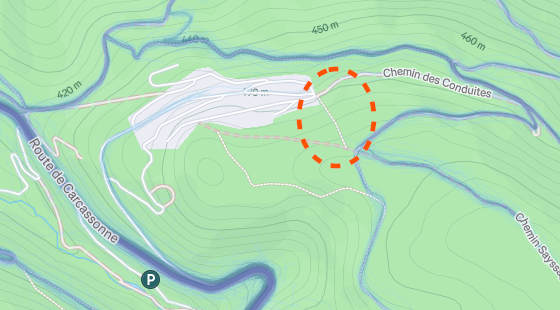
– Topographic maps
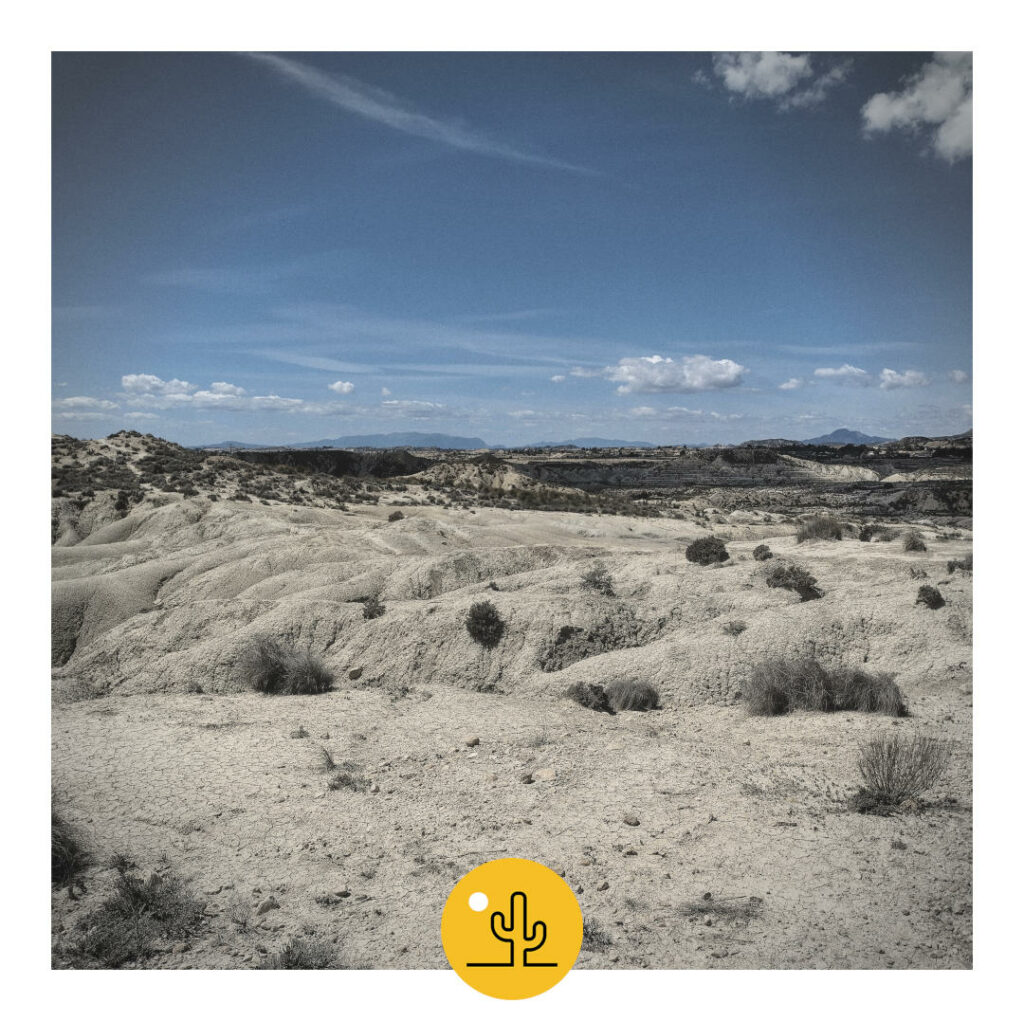
Topographic maps have the advantage of offering a high level of detail even in areas that are difficult to access, such as the Desertus checkpoints.
They can provide valuable information. For example, when a track becomes a path, the presence of possible fords, etc.
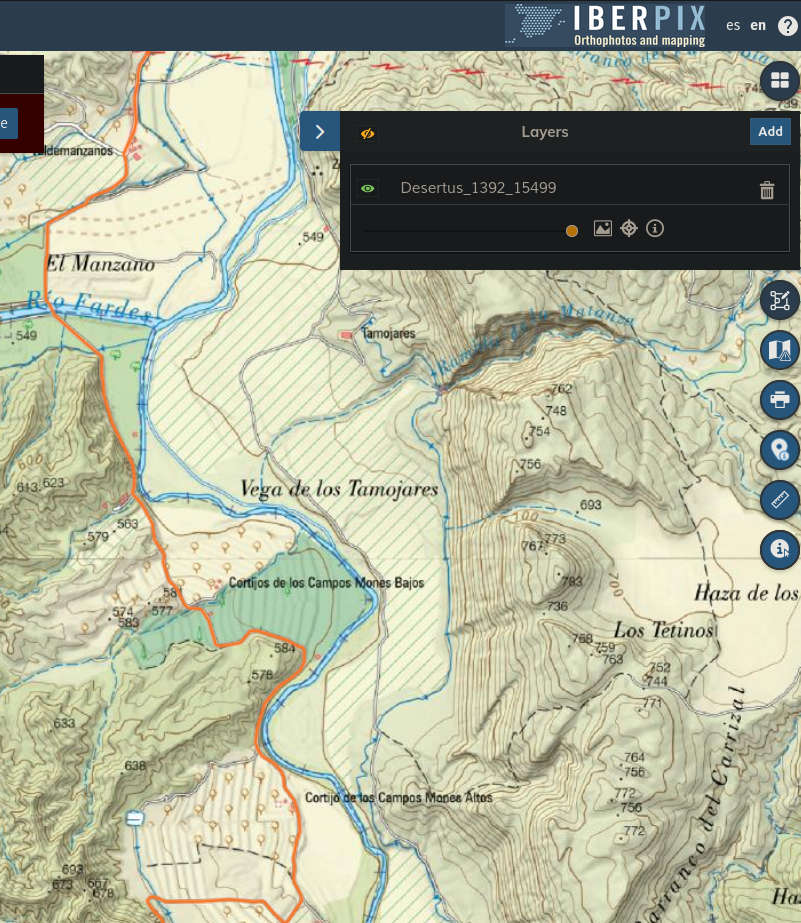
Geoportail (France)
Includes IGN 1:25,000 maps.
Iberpix (Spain)
The Spanish IGN’s equivalent of Geoportail for viewing 1:25,000 topographic maps.
GPX files can be loaded in the “Layers” menu.
IV / POI management
*POI = point of interest
On the road, we will need places to refuel: food, drink, possibly a hotel or shelter to sleep in.
Identifying points of interest before departure saves time on the road and allows us to see areas with no food outlets so we can plan ahead for refueling stops.
– Quickly find POIs: OutBK.app
I used to mark points of interest by hand, which works but takes a loooong time.
My friend Arnaud has developed a fantastic tool that automates the task: OutBK.app (OutBook).
For its launch, the premium version is free until May 1, 2026, using the code “AVENTURE2K.”.
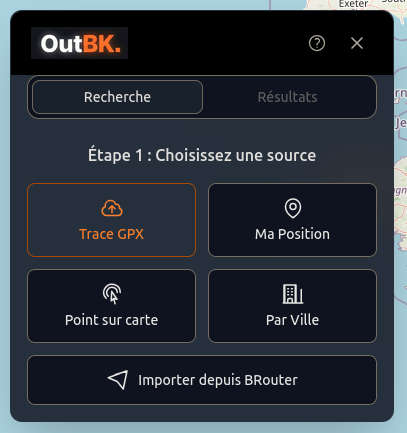
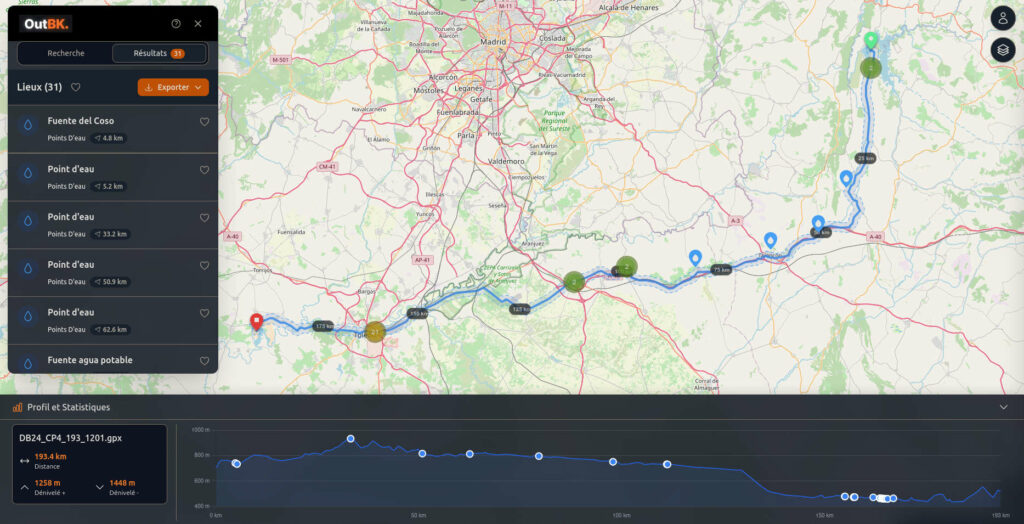
We load the track, ask it for the type of POI we are looking for, and it generates a list!
Once the search is complete, I can export the POIs to a GPX file.
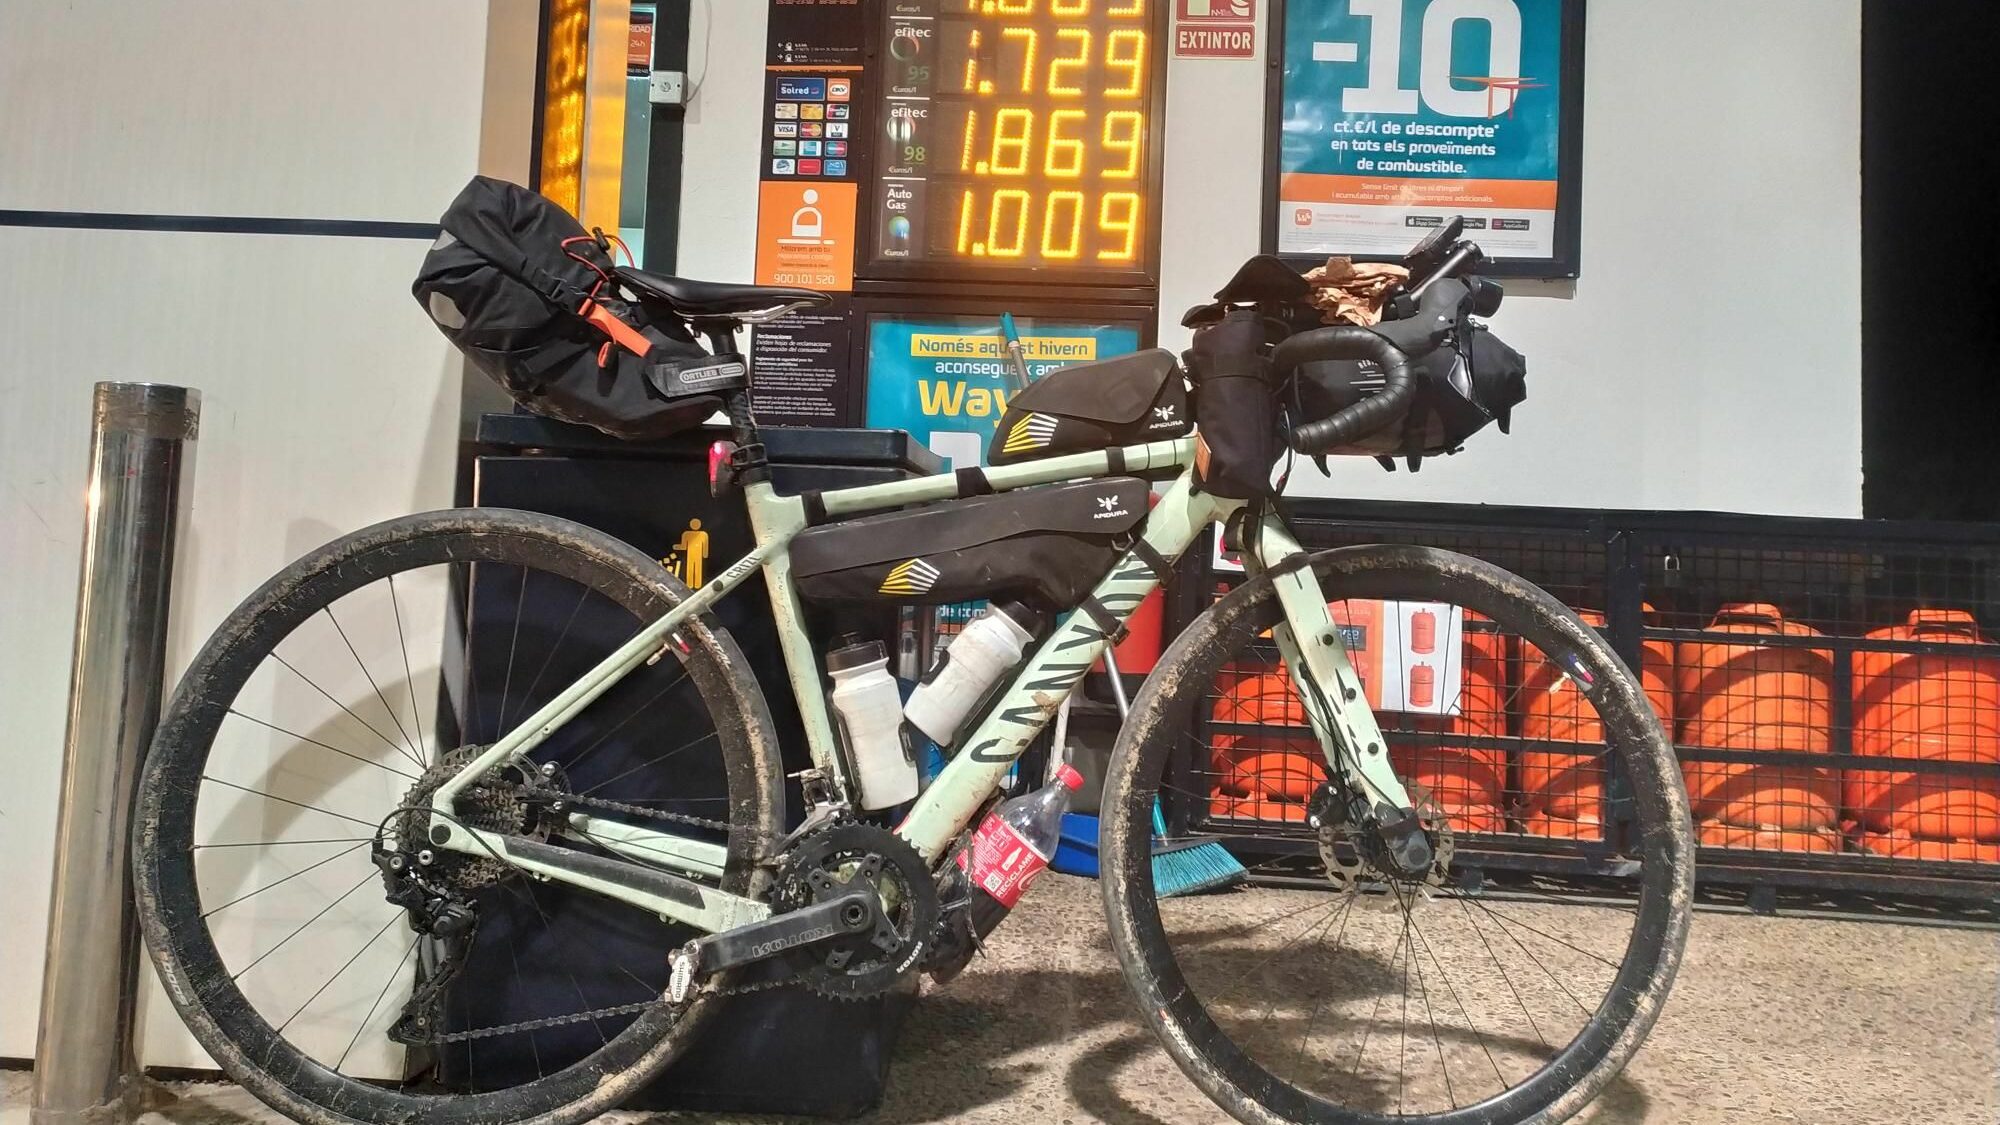
– View POIs: OSMAnd
Some bike computers support POI display, but I personally check them on my Android phone.
I use OSMand with offline maps, both for better map readability and to have a backup navigation system.
The app available on Google Play is limited to 7 free OpenStreetMap tiles. To be able to download tiles at will, I recommend downloading the open-source version of the app from F-Droid.
In the application, I open the GPX files containing my routes and those containing POIs to add them to my favorites.
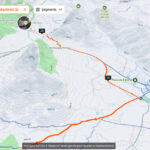
– Red line: my GPX track
– Yellow dots: POIs added to favorites; they will remain visible when zooming out.
I think that’s all I had to share. Feel free to write to me if I’ve forgotten anything. 😉
Hasta pronto !